BobsPlumbingVideos.com

Real Life Plumbing Advice for People Who Don't Want To Call A Plumber

  • Home
  • How-To-Fix Videos
    • General Plumbing
    • In The Kitchen
    • In The Bathroom
    • Toilet Repairs
    • Heating Problems
    • Hot Water Problems
  • Plumbing Articles
    • Quick Tips
    • Tool Reviews
    • Bobs Recommended Tools
  • About BPV
    • About Bob Sessa
    • Press Photos
    • Follow BobsPlumbingVideos.com
    • Find a Local Plumber – Coming Soon!
  • Got A Plumbing Problem? Ask Bob

Pipes Under Kitchen Sink Keep Coming Apart

April 19, 2018 By BobsPlumbingVideos Leave a Comment

Do the pipes under your kitchen sink keep coming apart? You’re not alone and in my experience it always ends up being an auxiliary or secondary sink farthest from the “P” trap. I’ll generally use a 24″ watse bend that is connected to a dual inlet “P” trap that is commonly found here in the big apple.

When I’m called in to make repairs under kitchen sinks I’m amazed at what some people keep under their. Just trying to get to the leak is a job in itself not mention the customer never empties out the cabinet before I arrive. I find electrical tape, duct tape, wooded supports trying to hold everything together and it all eventually fails.

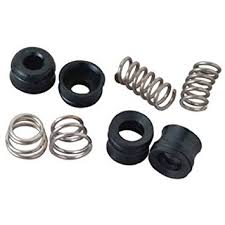
When I work with thin gauge tubular waste pipes I like to use either the supplied rubber or beveled nylon washers. I’ll apply some mega lock pipe joint compound the to male end threads, and after I make the up the nuts with my channel lock pliers or pipe wrench. they’re pretty darn secure. I test for leaks by filling and draining the sink a few times and all is good to go. Right? Not so fast!

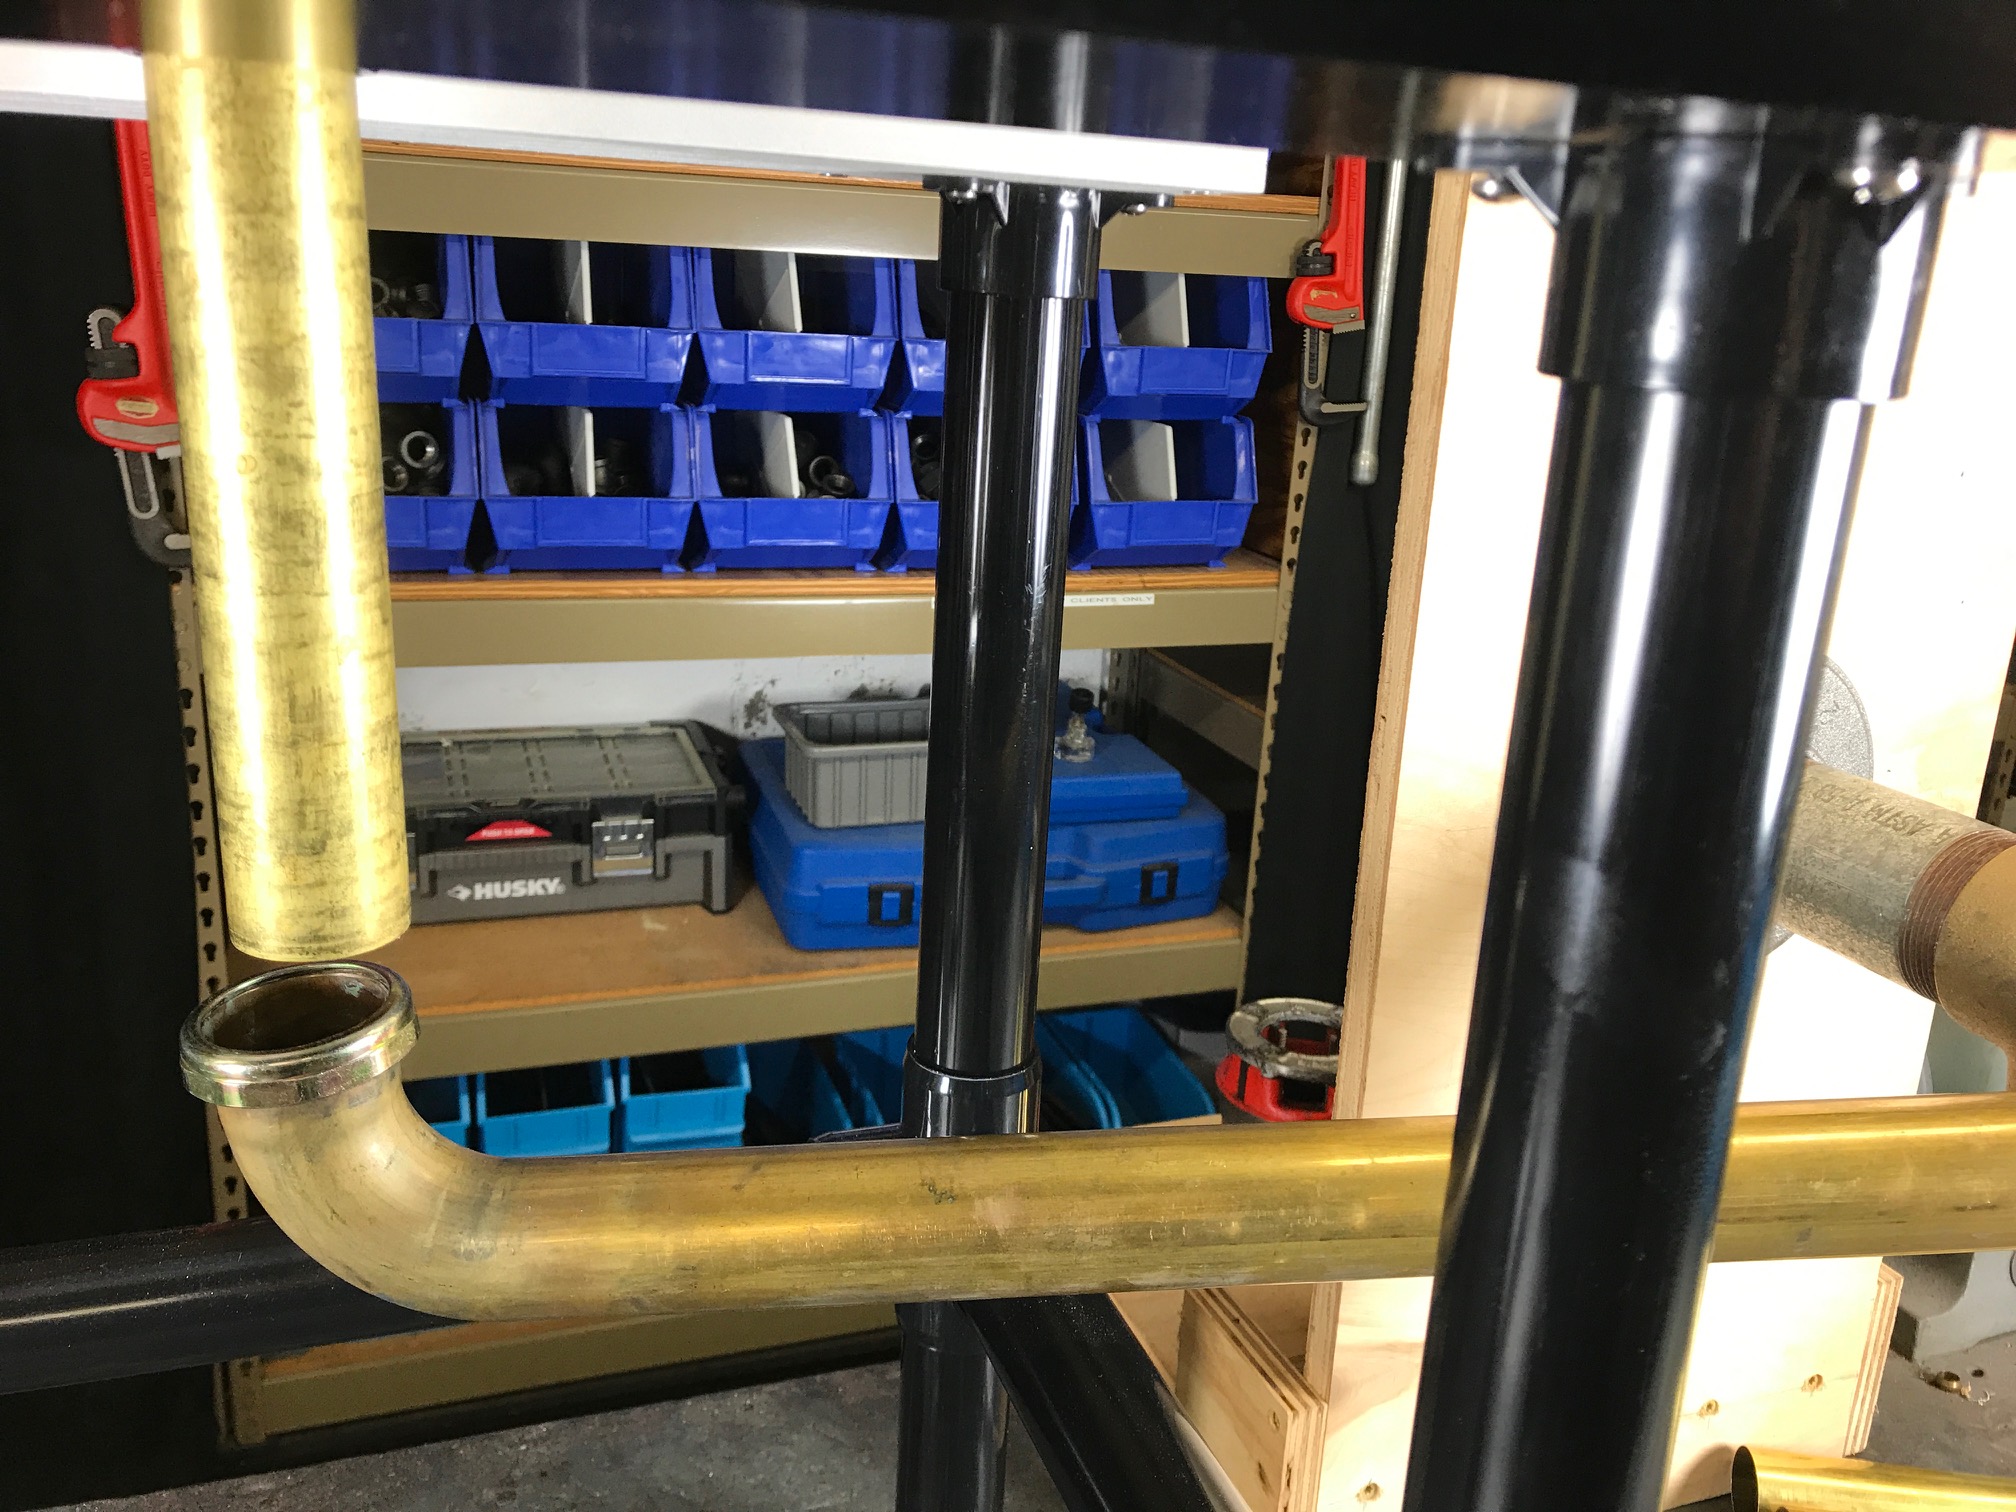
It doesn’t happen often but on some jobs I ultimately end up getting a callback because the pipe came loose or fell which frankly could not have happened unless stuff was getting thrown around. The kitchen base cabinet seems to be the place where all the misc. junk seems to find a home. You open the door throw everything in and close the door and eventually it all piles up in, around and on the drain pipes.

So I return re-set the job and I’m on my way. Weeks or a month or two later I get the same callback for the same problem and realize soon the this is not a workmanship problem but a people problem! Plan B – I don’t generally like using wood supports that I’ll notch out so the pipe can rest in because it just looks horrible and if they’re throwing stuff under the cabinets without looking, chances are they’ll knock the support out as well.

I make my final trip (fingers crossed) looking into the cabinet saying to myself there’s no way I’m coming back here again and it dawns on me that one simple technique could end this insanity once and for all. Why I didn’t think of it sooner is beyond me but this is how I connect all my auxiliary sinks that run close to 24″ from the primary sink. It’s worked out quite well for me and if you can get the technique down, I know it will work for you. Check out the video below to see exactly how I make this work and as always if you have questions you can email me at info@bobsplumbingvideos.com.

Regards & Happy Plumbing

Bob

Filed Under: General Plumbing, How-To-Fix Videos, In The Kitchen Tagged With: kitchen sink drain installation, kitchen sink pipes, kitchen sink plumbing, leaking sink drain, plumbing under kitchen sink, sink drain leaking at connection, sink drain pipe leaking

I Need Your Help!

April 1, 2017 By BobsPlumbingVideos Leave a Comment

It’s March 31, 2017, and the last video I posted to my youtube channel was on Feb 25th. I’m sitting here in my office with a totally blank slate. So rather than racking my brains out trying to decide what content to create, I’m going to ask my subscribers. I need your HELP! What Videos would you like me to post?

After 40 years in the service business, I lose sight of the fact that my daily adventures don’t seem all that important to me. But I’m probably missing the fact that what comes second nature to me, may be of great interest and really valuable to you. So again I ask, what Plumbing Videos / Basic Plumbing Repairs do you want me to create?

Help!

Do you really want to see major plumbing alterations and repairs? Are you more interested in the materials, tools or the techniques to get a job done? Plumbing repair covers a very wide range of tasks ranging from very simple fixes to very elaborate and beyond.

Below I’ve created a simple survey and would appreciate your participation! Simply check off the content you would like me to create more of !

The fact is if you’re a homeowner you’ll most likely be faced with having to call in a plumber at some point. My goal here at BobsPlumbingVideos.Com is to educate homeowners like yourself about the art of residential plumbing repair and in the process help you save your hard earned dollars for basic plumbing repairs.

My equipment is set up and ready to start filming my next video so, please send me your ideas, your thoughts, and suggestions on how I can help keep the plumber out of your life! Regards, and HAPPY PLUMBING!

Bob

Filed Under: Bobs Recommended Tools, General Plumbing, Heating Problems, Hot Water Problems, How-To-Fix Videos, In The Bathroom, In The Kitchen, Plumbing Articles, Q & A, Quick Tips, Toilet Repairs, Tool Reviews

Delta Faucets, Delta Repairs, Delta Faucet Tool

January 29, 2017 By BobsPlumbingVideos Leave a Comment

Delta Faucets and Delta Repairs are some of the most popular videos on You-Tube. I posted three of them, two for their single lever faucets and one for their two handled faucets. In both cases, the removal of the cartridges, ball, seats and springs is necessary for a proper re-build.

As far back as I can remember I’ve used a thin blade screwdriver, dental pick or even a long needle nose pliers to remove those pesky seats and springs which sometimes can be a pain in the butt to remove. Especially the hot water side, those rubber seats get hard as a rock and literally, break into pieces when trying to remove them.

For the most part getting them out is a relatively straight-forward task, but installing the new ones can be tricky at times. You have to drop the springs into a small recess inside the faucet followed by the rubber seat which also has to sit over the spring and into the recess. Often if there’s water sitting in the faucet, the rubber seat ends up floating up and out of the recess.

A good tip is to remove all the sitting water via a sponge or straw so this problem is avoided.I usually, will thread the rubber seat followed by the spring onto a thin blade screwdriver and use it as a guide to lower them into the recess inside the faucet. This has been the way I’ve been doing it ever since I can recall, but recently I found this tool in one of my supplier’s catalogs called a Purge-N-Set tool for seats and springs.

Needless to say, besides being a tool geek and curious I had to order one and check it out. Well, I’m happy to say it works really well and for those of you who are having trouble removing and re-installing seats and springs in your Delta faucets, you might want to check it out. You can purchase a Purge-N-Set tool at few online retailers and if you want to see it in action check out the video below where I demonstrate just how it performs.

As always if you have any questions on Delta faucet repairs, you can e-mail me at info@bobsplumbingvideos.com. You’ll also find me on Face-Book, Twitter.

Happy Plumbing,
Bob

P.S. – I bought this tool from Wolverine Brass which only sells to professional plumbers. My cost $14.95, I’ve seen them online selling for as much as $28.00 plus in which case I would say to you the good old fashion thin blade screwdriver trick works just fine!

Filed Under: How-To-Fix Videos, In The Kitchen, Tool Reviews Tagged With: delta faucet, delta faucet repair, delta faucet seat and spring removal, delta faucet tool, delta single lever faucet, delta spring and seat installation, delta spring and seat removal tool, delta two handled faucet, leaking delta faucet

Dishwasher Air-Gaps…Do You need One?

September 18, 2016 By BobsPlumbingVideos Leave a Comment

Dishwasher air-gaps are required devises in many states across the country and the best way to ensure you’re code compliant is to check with your local buildings department. Here in N.Y.C we have the option to use an air-gap or simply create a high loop in the dishwasher drain hose and secure it as high as possible under the sink base cabinet. I’ve been using the second option as described and honestly can say I’ve yet to see a counter top mounted air-gap in my everyday plumbing practice.dishwasher-air-gap

So what is the purpose of the dishwasher air-gap? It’s to prevent dirty contaminated sink drain water from backing into your dishwasher thus creating a potentially hazardous health issue. Not only is it unhealthy, but the stagnant water pooled at the bottom of dishwasher absolutely STINKS!. When I’m called in to address a leak under a sink, nine times out of ten I’ll find the dishwasher drain hose draped on the floor of the base cabinet and connected to either the garbage disposal or directly into a tailpiece.

What this does is allow drain water to migrate from the sink drain into the dishwasher and the homeowner has no clue it’s happening. They then open the dishwasher door and discover some nasty smelling water, especially if they don’t use the dishwasher that often. It’ll happen more frequently if the kitchen sink drain is partially clogged and draining slowly. The simple fix is to a. make sure the sink is draining properly and b. elevate the drain hose as high as possible and secure it to the underside of the counter top or cabinet wall. And if your state requires, the installation of a proper sink / counter mounted air-gap.

If a blockage takes place in the discharge hose between the air-gap and or tailpiece the sink mounted device will discharge water alerting you of a problem. You would be better served mounting it to the sink itself as opposed to a counter top, but each individual job will dictate what the best approach will be. If it does become clogged, you could remove the decorative cap and using the tube from a roll of paper towels attempt to blow free the blockage. On the other hand if it’s clogged with some hard food particles, you’re probably going to have to dismantle the waste hose under the sink to address the issue.

The point is dishwasher air-gaps are use to prevent hazardous sink water from getting into your dishwasher and contaminating dishes, utensils, etc. Check out the video below where I explain in detail why you need a dishwasher air-gap and an alternative option if your state does not require one. As always feel from to contact me at info@bobsplumbingvideos.com, stay well and HAPPY PLUMBING!

Best Regards,
BOB

Filed Under: How-To-Fix Videos, In The Kitchen Tagged With: air-gap, air-gaps, discharge hose, dishwasher, dishwasher air-gap, dishwasher drain, dishwasher hose, dishwasher loop, diswasher drain

My Delta Faucet Still Leaks!

July 11, 2016 By BobsPlumbingVideos Leave a Comment

I’m a big fan of Delta faucets and when that very first generation single lever faucet was introduced many moons ago I absolutely loved it. Well made, easy to repair and just an all around good product. A routine Delta repair would consist of a pair of springs, rubber seats, a new ball and you were good to go. Eventually, I would purchase complete repair kits which included all the previous parts mentioned plus all the “O” ring washers and a spray diverter if the faucet was so equipped.

delta guide imageThe original Deltas used a solid brass ball unlike the hollow stainless steel versions of today. In both cases the ball had a slot cut into it which would ride on a small brass guide located on the right side of the faucet interior.I would start to get service calls stating that the customer had to play with the handle and position it in exactly the proper spot in order to get the water to stop dripping. I thought this sounds a little flakey, but after taking a close look I figured out what was causing the problem.

The little brass protrusion or guide inside the faucet body would wear down and in some cases become virtually flush with the faucet body. The result being the ball lost its ability to be guided left to right for a positive shut-off. You would have to literally find a “sweet spot” for the handle in order for the water to stop running. I started to realize this would happen more often with the first generation Delta faucets which used the solid brass ball. Because it was one solid mass of brass, it eventually wore down the guide preventing the ball from making a positive shut-off.

If you find yourself having to get that handle in exactly the right position a.k.a “sweet spot” in order for the water to shut after you’ve replaced all the other parts inside the faucet, it’s time to take another look inside. If you find that the guide inside the faucet is pretty much worn down, you’re going to be faced with replacing the faucet. Check out the video below where I show you exactly what to look for. Don’t forget ! if you got questions, I got answers! Forward them to info@bobsplumbingvideos.com and as always,

Happy Plumbing.

Bob.

Filed Under: How-To-Fix Videos, In The Kitchen Tagged With: delta faucet, delta faucet repair, delta single faucet repair, delta single lever faucet repair, repair a leaky delta faucet, single lever faucet

  • 1
  • 2
  • 3
  • …
  • 5
  • Next Page »

Voted 3rd Most Popular Site

Connect With Me

facebook twitter google plus youtube

Discover How To Fix The 7 Most Common Home Plumbing Problems Even If You've Never Picked Up A Wrench!

Simply Enter Your First Name & Email Address To Get Instant Access Now!

We will not sell, rent, give away your information. We hate spam too!

Recent Posts

  • Clogged Drain / D.I.Y.
  • Master Plumbers Exam / Practical Test
  • Bathtub Drain Stopper / Trip Waste Assembly

Categories

Like Us On Facebook

Like Us On Facebook

Newsletter · Ask Bob · Privacy Policy · Terms · Sitemap

Copyright © 2026 BobsPlumbingVideos.com · All Rights Reserved · Web Design & Marketing by Urmil Patel