BobsPlumbingVideos.com

Real Life Plumbing Advice for People Who Don't Want To Call A Plumber

  • Home
  • How-To-Fix Videos
    • General Plumbing
    • In The Kitchen
    • In The Bathroom
    • Toilet Repairs
    • Heating Problems
    • Hot Water Problems
  • Plumbing Articles
    • Quick Tips
    • Tool Reviews
    • Bobs Recommended Tools
  • About BPV
    • About Bob Sessa
    • Press Photos
    • Follow BobsPlumbingVideos.com
    • Find a Local Plumber – Coming Soon!
  • Got A Plumbing Problem? Ask Bob

Clogged Drain / D.I.Y.

February 22, 2019 By BobsPlumbingVideos Leave a Comment

So you have a clogged drain, what do you do now? Do you attempt to clear it yourself or do you call in a professional? That could be expensive, so you watch a couple of YouTube videos and decide to give it a go! At the very least you could try the good old baking soda and vinegar trick or take a chance with some of the over counter drain cleaning products. Oh and don’t forget the old reliable plunger!

You keep working on it and after and hour or two you still have a clogged drain. Now what? I bet the clog is in the “P” trap under the sink so I’ll bail out the water, take the trap apart and clear the clog. You remove the trap only to find nothing, you reassemble the drain pipes turn the water on and guess what! Your drain is still clogged. It decision time, should I call the plumber or should try to snake out the drain myself?

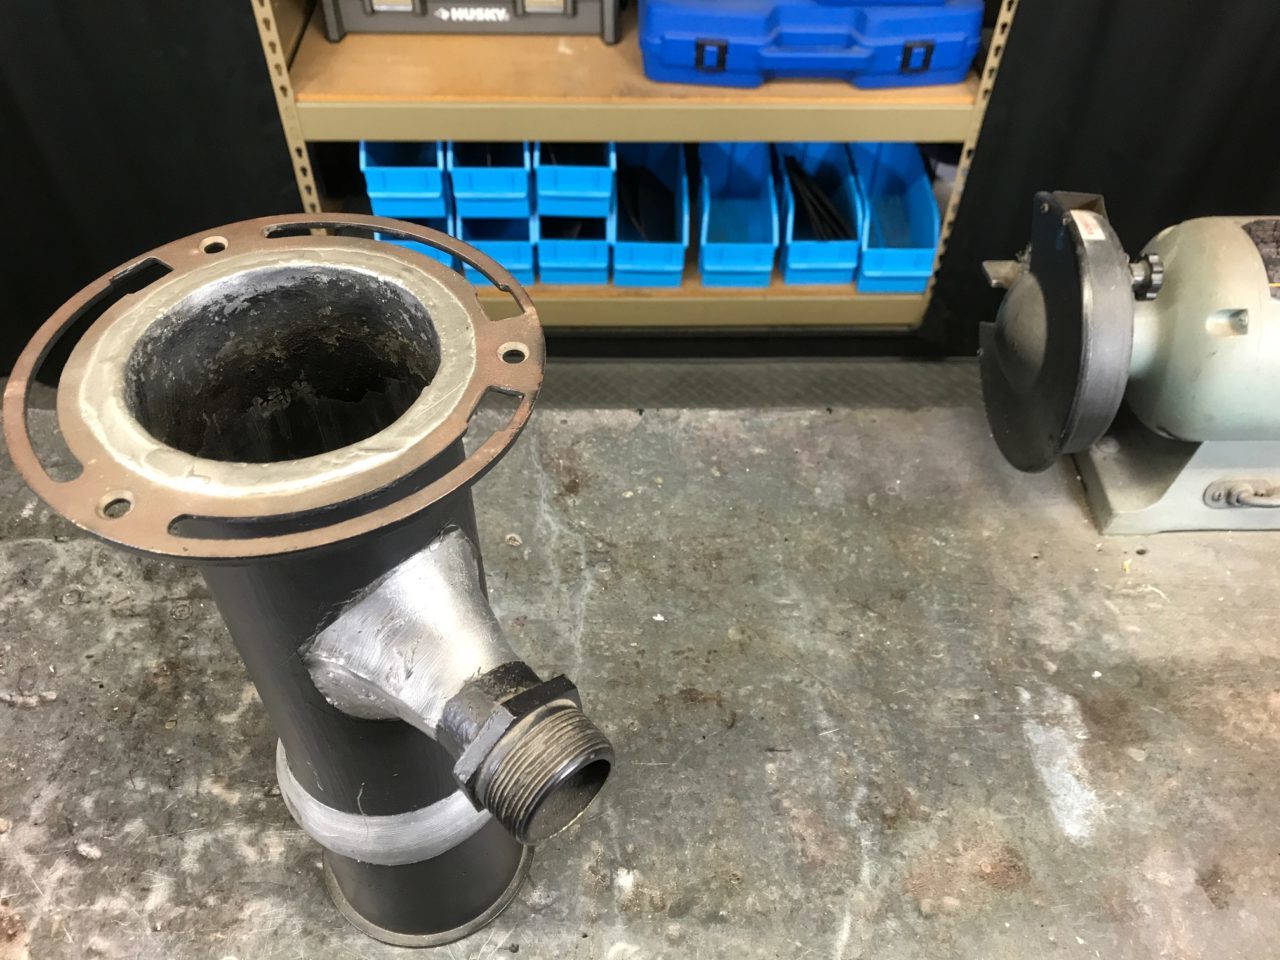
This is where people get into trouble, they figure I’ll go out to the home center get an inexpensive drain snake and cable the line myself. You look under the sink at the drain pipe exiting the wall and start cabling away but soon come to realize you’re having trouble getting the snake to go down. What seemed like a simple task has now turned into hours, not the mention the mess and stink from pulling the cable in and out.

Your wife or significant other is begging you to call in a professional and stop the insanity, but you press on only to find out no matter what you do, you can’t clear this clogged drain. You’re not alone, fact is behind the wall there could be any number of piping arrangements that is preventing your snake from going down. In a perfect world there should be a basic “TY” connection facing forward and you should be able to direct your cable straight down the drain. But not being able to see behind the wall, you’re totally stumped!

In the following video I lay out the pitfalls of drain cleaning and point out some reasons you may want to call in a professional to take on a task like this. Speaking for myself, I very rarely dismantle the drain pipes to clear a stoppage. I do it from the top with a professional handheld drain cleaning machine which allows me to run the water and flush the line out once I clear the stoppage. I suggest you watch the video first before you get in over your head!

HAPPY PlUMBING!
Bob

Filed Under: General Plumbing, How-To-Fix Videos Tagged With: clogged bathroom sink, clogged drain, clogged kitchen sink, clogged sink, D.I.Y, drain cleaning, how to unclog a sink

Master Plumbers Exam / Practical Test

June 2, 2018 By BobsPlumbingVideos Leave a Comment

So I attended Mechanics Institute in N.Y.C 1974 thru 1977 at night and studied plumbing design. Not something I’d necessarily recommend for someone interested in the service and repair segment of the plumbing industry, but I figured I should learn the how and why of the entire plumbing infrastructure. Besides I wanted to prepare to take my Master Plumbers Exam.


Fall of 1977 I registered for preparation classes to take the written part of the licensed master plumber exam. I had the seven years required to be eligible to take the test, so I figured why not. I was 27 at the time and in those days everyone would say “no one passes that test on the first try” so I guess I should get started.


I and two of my friends who also owned their own plumbing business’s decided we would all work together and studied both in the night classes during the week as well as tutored each other on weekends. The class was given at that time by one of the chief plumbing inspectors of the borough of Brooklyn, New York Bill Marion.


He was very knowledgeable of N.Y. City plumbing code and we would essentially concentrate and review in detail test results from past master plumbers exams. So much in detail, I’ll never forget that Bill would point to specific questions and tell us to pay close attention to that one!


We all took the test I believe in December of 1977 and all three of us passed without a hitch. At the time I didn’t think much of the questions that Bill told us to pay attention to because this was a completely new test and he was referring to tests from the past.


lead wiping, practice test,
Master Plumbers Practical Test Practice Piece


To my surprise, some of those very identical questions were on the test we took which made life just a bit sweeter at the time. I wonder did Bill know something or was it just pure coincidence? I don’t think we’ll ever know and I wasn’t about to ask.


Having past the written test we were all eligible to register for the practical test preparation classes which I believe were to begin February 1978. The practical portion of the test at that time required you to wipe lead joints, an art form that had been slowly fazed out over the years as the as hubless cast iron and copper water tubing were becoming the new accepted materials of our plumbing code.


So why make us wipe lead joints for the Master Plumbers Exam/Practical Test? That’s a great question and my only answer at the time was to eliminate as many candidates as possible because lead wiping is an art that takes many many hours to master. Good thing because at the time you were given three cracks at taking the practical test before having to go back and retake the written test all over again!


I struggled for about three months to discover my technique, it was very discouraging, to say the least, and then in May things started to click and I was able to finally go thru the entire test uninterrupted. The test was comprised of many parts and the total time allotted to complete was three hours including the plan reading which you had to pass before you could proceed with the actual practical part of the test.


We had to wipe one 4″ vertical joint, one 1 1/2″ horizontal joint, solder a brass floor flange onto a 4″ lead stub piece with a soldering iron and take that whole assembled piece and caulk it into a horizontal 4″ cast iron eight bends (45 degree) fitting using oakum and molten lead. Not easy, very stressful, but that was the deal if you wanted a shot at your license.


lead wiping, practice test piece
Master Plumbers Practical Test Piece alternate view.


I finished the test in 2 1/2 hours and that included breaking down the first 4″ joint I had put up because I didn’t like the way it looked. I noticed two of the instructors looking puzzled and speaking to one another while simultaneously looking at my piece. When I was leaving the workroom area and saying goodbye to everyone, one of those instructors walk over to me and whispered to me, “you should have left the first joint up”!


What the hell did that mean? Well, I came to find out later that they were puzzled because in their opinion my first attempt was absolutely fine. It was still ahead trip for me wondering did if pass? fail? As things turned out I passed the Master Plumbers Exam practical test and by August 24th of 1978 at the age of 28, I became Licensed Master Plumber #0521


That was 40 years ago and since that time my children were born and raised, I sold the company I started in 1978 to my employees in 2004, the two friends who I took the test with have since unfortunately passed away. I started a handyman business in 2005 which I ran until 2011, and In 2012, I started Robert Sessa Plumbing.


The following video below is a quick overview of that practical test in which I explain the process as best as I can remember. I, unfortunately, am no longer in possession of the actual tools and materials I used at the time. When I sold my company, I sold everything and at the time had no intention of entering back into the plumbing business ( a blog post to come).


If you’re a professional watching this you’ll know what I’m talking about, to everyone else I’ll try my best to explain the process. If you have any questions I can be reached by email at info@bobsplumbingvideo.com or bobsplumbingvideos@gmail.com.


And by the way, BobsPlumbingVideos.Com has once again has been featured in FeedSpots top 20 plumbing youtube channels.

Regards & HAPPY PLUMBING!

BOB

Filed Under: How-To-Fix Videos Tagged With: master plumber exam, master plumber qualifications, master plumber test, plumbing test, test for plumbers

Bathtub Drain Stopper / Trip Waste Assembly

April 28, 2018 By BobsPlumbingVideos Leave a Comment

The Bathtub Drain Stopper / Trip Waste Assembly is found in countless bathrooms across the country and it’s basically a fool proof way of filling your bathtub when taking a bath. Right? Well maybe…

Prior to this modern method of keeping your bath water in the tub, many homes use to have “Standing Waste & Overflow” a tall cylindrical barrel standing next to the tub with an interior plunger which allowed you to stop the water so you could bathe. Drop  the plunger down and it stopped the water, lift it up and the water would drain.

They were eventually phased out (although thousands are still in service today) because they simply are no longer code compliant in most municipalities across the country. Enter the modern Trip Waste Assembly a simple device which can easily be operated by a flick of a lever located in the bathtubs overflow. Flick it up and the water stops, flick it down and the water drains.

Generally trouble free but as time goes by hair, soap scum and variety of mysterious childrens toys make their way into the drain and interfere with plunger causing it to hang up or not operate at all. In addition the linkage that connects the plunger to the trip lever up top gets loose or completely disconnected.

When this happens some minor (or major) adjustments will be required by removing the overflow plate / trip lever assembly and exploring exactly what the issue could be. The overflow is also the access through which you would run an electric snake in the event of a complete tub blockage.

Care must be taken when performing either of these procedures because not all overflows are secured to the tub thru use of a backup plate which is screwed directly  into the overflow tube. If buy chance that overflow tube becomes dislodged from the waste tee inside the wall, you’ll be placing a call into your local friendly plumber (ouch). This is especially true  when trying to clear a stoppage with an electric snake.

An occasional lubrication of the plunger and linkage is always recommended, but care must be taken whenever you remove the overflow plate / trip lever. Check out the video below to have a better understanding of how the bathtub drain stopper / trip waste assembly works. If you get stuck, you can always reach me at info@bobsplumbing videos.com. I hope you’re getting some useful tips from these videos and if so, please subscribe to my youtube channel, give me a thumbs-up  and leave your comments.

Regards & Happy Plumbing,

Bob


Filed Under: General Plumbing, How-To-Fix Videos, In The Bathroom Tagged With: bathtub drain clogged, bathtub drain removal tool, bathtub drain stopper, clogged bathtub, how to replace bathtub drain stopper, trip waste assembly

Pipes Under Kitchen Sink Keep Coming Apart

April 19, 2018 By BobsPlumbingVideos Leave a Comment

Do the pipes under your kitchen sink keep coming apart? You’re not alone and in my experience it always ends up being an auxiliary or secondary sink farthest from the “P” trap. I’ll generally use a 24″ watse bend that is connected to a dual inlet “P” trap that is commonly found here in the big apple.

When I’m called in to make repairs under kitchen sinks I’m amazed at what some people keep under their. Just trying to get to the leak is a job in itself not mention the customer never empties out the cabinet before I arrive. I find electrical tape, duct tape, wooded supports trying to hold everything together and it all eventually fails.

When I work with thin gauge tubular waste pipes I like to use either the supplied rubber or beveled nylon washers. I’ll apply some mega lock pipe joint compound the to male end threads, and after I make the up the nuts with my channel lock pliers or pipe wrench. they’re pretty darn secure. I test for leaks by filling and draining the sink a few times and all is good to go. Right? Not so fast!

It doesn’t happen often but on some jobs I ultimately end up getting a callback because the pipe came loose or fell which frankly could not have happened unless stuff was getting thrown around. The kitchen base cabinet seems to be the place where all the misc. junk seems to find a home. You open the door throw everything in and close the door and eventually it all piles up in, around and on the drain pipes.

So I return re-set the job and I’m on my way. Weeks or a month or two later I get the same callback for the same problem and realize soon the this is not a workmanship problem but a people problem! Plan B – I don’t generally like using wood supports that I’ll notch out so the pipe can rest in because it just looks horrible and if they’re throwing stuff under the cabinets without looking, chances are they’ll knock the support out as well.

I make my final trip (fingers crossed) looking into the cabinet saying to myself there’s no way I’m coming back here again and it dawns on me that one simple technique could end this insanity once and for all. Why I didn’t think of it sooner is beyond me but this is how I connect all my auxiliary sinks that run close to 24″ from the primary sink. It’s worked out quite well for me and if you can get the technique down, I know it will work for you. Check out the video below to see exactly how I make this work and as always if you have questions you can email me at info@bobsplumbingvideos.com.

Regards & Happy Plumbing

Bob

Filed Under: General Plumbing, How-To-Fix Videos, In The Kitchen Tagged With: kitchen sink drain installation, kitchen sink pipes, kitchen sink plumbing, leaking sink drain, plumbing under kitchen sink, sink drain leaking at connection, sink drain pipe leaking

Gas Water Heater Pilot Light Video

April 14, 2018 By BobsPlumbingVideos Leave a Comment


You hop into the shower ready for the day ahead and realize you have no hot water. Now What? Well if you own a gas water heater chances are that A. your heater could be leaking or B. your Gas Water Heater Pilot Light is out.

The pilot light in a gas water heater is made possible by either of two devices. In older water heaters it’s called a thermocouple which is a heat sensing bulb attached to a copper capillary which connects to the fuel control valve. It produces a small electrical signal (millivolts) which allows the pilot to stay lit.

In newer style water heaters the manufacturers will provide either the traditional thermocouple or a pilot generator which is a larger sized sensing bulb and instead if a copper capillary tube, they actually use shielded light gauged wires which connect to the fuel control valve and again allow the pilot to stay lit.


In older water heaters thermocouples have a tendency to burn out which is not unusual, but in some cases, it may have moved out of position keeping it from sensing the heat generated by the pilot light. I’ve actually seen new water heaters having pilot outage issues because the thermocouple moved out of position while in transit.


In nine out of ten cases in my experience, the Gas Water Heater Pilot Light went out because the thermocouple lost it ability to generate enough voltage to keep the pilot going. A common repair in the world of gas water heaters. I have not had the opportunity to replace a pilot generator with the shielded wire leads on a gas water heater to date. Although I did have to replace one on my own gas fireplace.

In the video below I illustrate an older water heater followed by a more modern version and take through some steps needed should you decide to attempt this repair yourself. WARNING: I do not recommend the D.I.Y. person take on a repair like this but I know that many in fact do and with that in mind hopefully I can help you avoid some pitfalls in the process. If you having any doubt at all about attempting this type of repair, STOP and contact a qualified professional technician.

I hope you enjoy the video, and if so I’d appreciate a thumbs up and please subscribe to my youtube channel www.bobsplumbingvideos.com. I look forward to seeing you in my next video, stay well and as always HAPPY PLUMBING!

Bob


Filed Under: General Plumbing, Hot Water Problems, How-To-Fix Videos Tagged With: gas water heater, gas water heater pilot light, gas water heater troubleshooting, pilot light goes out, pilot light out, pilot light won't stay lit

  • 1
  • 2
  • 3
  • …
  • 18
  • Next Page »

Voted 3rd Most Popular Site

Connect With Me

facebook twitter google plus youtube

Discover How To Fix The 7 Most Common Home Plumbing Problems Even If You've Never Picked Up A Wrench!

Simply Enter Your First Name & Email Address To Get Instant Access Now!

We will not sell, rent, give away your information. We hate spam too!

Recent Posts

  • Clogged Drain / D.I.Y.
  • Master Plumbers Exam / Practical Test
  • Bathtub Drain Stopper / Trip Waste Assembly

Categories

Like Us On Facebook

Like Us On Facebook

Newsletter · Ask Bob · Privacy Policy · Terms · Sitemap

Copyright © 2026 BobsPlumbingVideos.com · All Rights Reserved · Web Design & Marketing by Urmil Patel