BobsPlumbingVideos.com

Real Life Plumbing Advice for People Who Don't Want To Call A Plumber

  • Home
  • How-To-Fix Videos
    • General Plumbing
    • In The Kitchen
    • In The Bathroom
    • Toilet Repairs
    • Heating Problems
    • Hot Water Problems
  • Plumbing Articles
    • Quick Tips
    • Tool Reviews
    • Bobs Recommended Tools
  • About BPV
    • About Bob Sessa
    • Press Photos
    • Follow BobsPlumbingVideos.com
    • Find a Local Plumber – Coming Soon!
  • Got A Plumbing Problem? Ask Bob

How To Solder Copper Tubing & Avoid Burning Down Your House!

May 6, 2017 By BobsPlumbingVideos Leave a Comment

So I had a wonderful YouTube viewer moan to me about how to solder copper tubing videos were a dime a dozen and rather than show my soldering techniques, I should show how to avoid burning down your house when soldering in close quarters. It is a great idea for a video and I guess I should thank him for the idea, but man people are just miserable!

Anyway, when soldering copper tubing it’s not always out in the open away from flammable materials and that presents a problem. At the very least you should always have a fire extinguisher at the ready god forbid thing’s get out of hand. It happened to me one time in my career and it scared the living hell out of me.

I was replacing two copper emergency water shut-off valves under a pedestal basin. There was approximately 2″ of copper sticking past the wall and I started with the hot water on the left side. The old valve came off without incident and I quickly soldered the new one on. Lunch time!

As I was cleaning up the area for my return I started to hear what sounded like a “crackling noise” and could not pinpoint what was happening. Well, my instincts took over, I put my ear up against the sheetrock wall above the sink and knew instantly that the fiberglass insulation was starting to burn.

How To Aviod A Home Fire

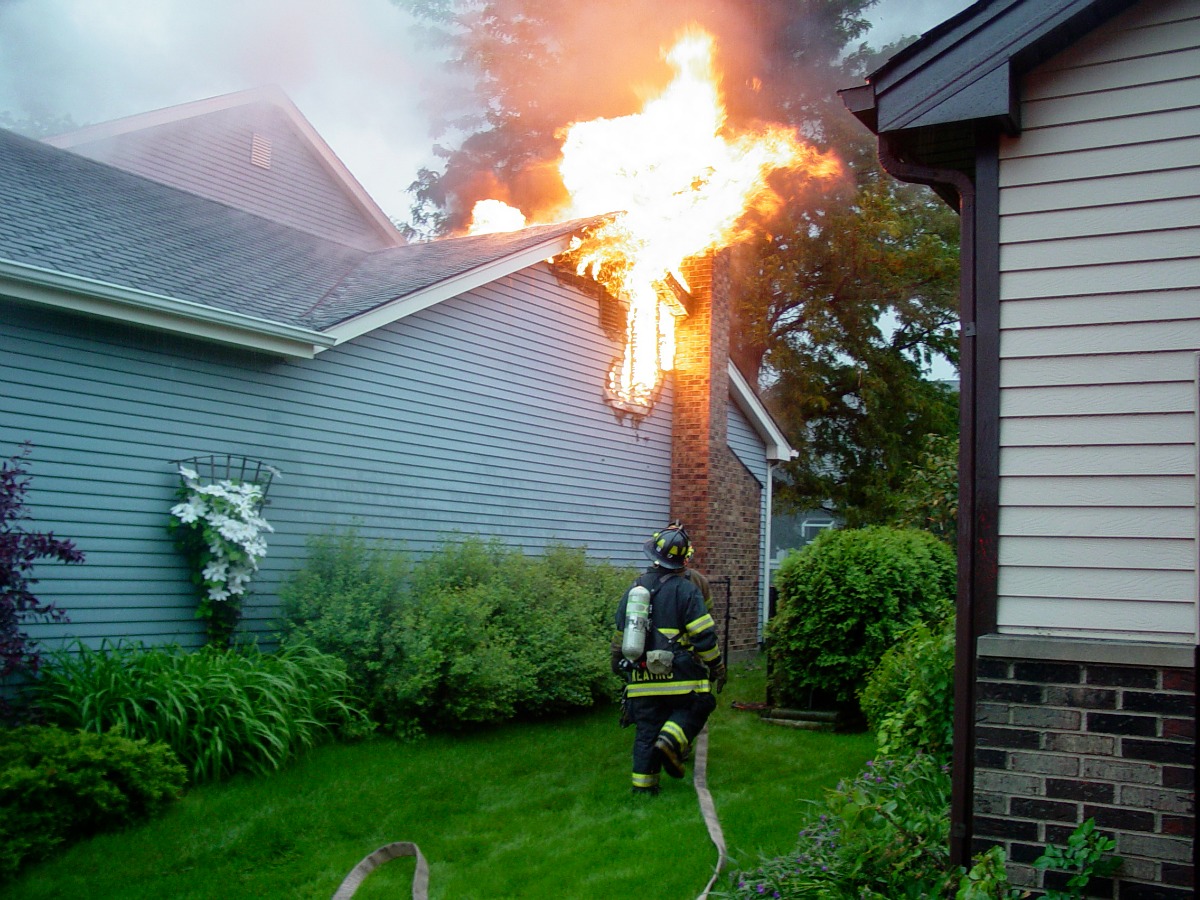
Without hesitation, I called down to the homeowner and told her to call the fire department and immediately grabbed my hammer to the wall above the sink. I reached in and pulled out the batt of insulation that was starting to take off and tossed it into the bathtub where I dowsed it with water.

The fire dept arrived in record time and they came in gangbusters ready to destroy the place, but I begged them to hold off I’m pretty sure I solved the problem. They proceeded to look into the wall cavity with some infra-red heat detecting equipment and were satisfied that there was no need to open up walls. Needless to say, I was a basket case and it must have shown.

As they were leaving one of the firefighters came over to me and said: “you saved this ladies house”. Kind words indeed, but I was visibly shaken as nothing like that had never happened to me before. This is one of the times when you thank god your liability insurance is paid up and in good standing. Although this was six attached condominiums and my limits at that time would never have covered a complete loss!

I took a long lunch break came back and finished soldering on the cold water valve, followed by a thorough cleaning of the bathroom. The following day I sent my tile man to the house to re-insulate and patch the wallboard, followed by painting the entire bathroom. An experience I will never forget nor take for granted when using an open flame inside or outside of a wall. All it takes is one stray spark to get away and your life could change forever.

How To Solder Copper Tubing & Avoid a Disaster!

I tell this story so those of you who are considering doing some D.I.Y. soldering are aware that there are some products available on the market that will greatly reduce (not eliminate) the chances of something like the above from happening to you. One is La-Co Heat Gel Cool Barrier Spray which you can spray on all the surrounding areas to avoid heat transfer to most surfaces.

The next item is the Oatey 31400 Bagged 9″ X 12″ Flame Protector which you can use to cover any flammable materials you want to avoid burning or scorching. I wet mine and ring it out before using it, but you can use it dry as well. Finally, the Kidda Multi Purpose Fire Extinguisher god forbid things get out of hand. Folks, it happened to me and it can happen to you!

Check out the video below where I demonstrate both the La-Co Heat Gel and the Oatey Flame Protector. And to the moaning You-Tube viewer who wasn’t impressed with my How To Solder Copper Tubing videos, thanks for the tip! I think it made a great blog post and even better video! Until next time, proceed with CAUTION!

HAPPY PLUMBING,
Bob

Filed Under: General Plumbing Tagged With: copper tubing, how to solder copper pipe, how to solder copper tubing, how to sweat copper pipe, how to sweat copper tubing, soldering copper tubing

How To Solder Copper Tubing part 2

November 19, 2013 By BobsPlumbingVideos Leave a Comment

Here’s part 2 of how to solder copper tubing. 

If you haven’t seen part 1, check it out here: How to solder copper tubing – part 1

In part 1 I took you through preparation process and laid out the necessary tools and supplies for your soldering journey. In this video I demonstrate how to solder one horizontal and one vertical joint using 1/2″ copper tubing. As a rule on the smaller diameters (1/2″ & 3/4″) I’ll leave my torch tip on one area of the fitting and because I’m using Mapp fuel along with my Turbo Torch STK-1 tip the job gets done fast. One step often missed in the the soldering process is not reaming or d-burring the inside of the copper pipe. This step you don’t want to miss as it will cause turbulence resulting in noisy plumbing.When I solder I always heat the fitting which will insure that the solder will flow freely into the joint. Their seems to be many opinions on whether you should heat the pipe or fitting, but I was taught this way at an early age and to date it’s my opinion that heating the fitting will insure a leak free joint 100% of the time.

One other very important step I want to point out is that when your through soldering and the joint sets, it’s important to grab a damp cloth and wipe off all that excess flux. Did you ever see a nicely laid out series of water lines that were lined up perfectly both horizontally and vertically but was covered in crusty green gunk? Horrible! That’s the left over flux someone forgot to wipe off.  The soldering process is not to difficult to do and if you take it slowly, you should have no problem with it.

If you didn’t watch part 1, I recommend you check it out first. 

Remember you can always reach me at info@bobsplumbingvideos.com if you have any further questions.

HAPPY PLUMBING!

Filed Under: General Plumbing, How-To-Fix Videos Tagged With: copper pipe, copper tubing, how to solder copper pipes, how to solder copper tubing, solder, soldering

How to Solder Copper Tubing – Part 1

November 19, 2013 By BobsPlumbingVideos Leave a Comment

Watch and learn how to solder copper tubing in this easy to follow video.

Their are several videos on you-tube showing how to solder copper tubing ; some good, some bad and some in-between. In this two part series I lay out the tools, cleaning procedure and steps to take when soldering small diameter ( 3/4″ & 1/2″) copper tubing. I will do a video on larger diameter copper, but in this series we’re going to concentrate on the small stuff.

I want to point out that I prefer to use Mapp fuel as opposed to propane fuel only because it burns at much higher temperatures getting the job done faster. In combination with the Turbo-Torch regulator and STK-1 torch tip featured in the video, the job goes quite quick on the small sizes and saves time on the larger sized copper tubing. You may certainly use a basic torch tip along with propane fuel, the job will just take a bit longer to complete. The key in a good strong joint is the cleaning and preparation process. I clean both the outside of the tubing as well as inside the fitting and depending on how dirty, I’ll use a scotch bright pad or plumbers emery cloth. The next step is to liberally coat the pipe and fitting with flux hopefully using a flux brush, (you don’t want to do this with your finger, flux is nasty). Their are differing opinions on what to heat first (the pipe, the fitting) but since I started in the business I was always taught to heat the fitting. By heating the fitting a process called capillary attraction takes place whereby the heat from you torch will actually draw the solder into the fitting with minimal effort.

The first part of this video series is all about the tools and preparation, in part two I’ll demonstrate a horizontal and vertical joint using 1/2″ copper tubing. This is not that difficult to do, so when you’re done with part 1, jump on over to part 2 and let’s solder a couple of joints.

Here’s a quick link to How To Solder Copper Tubing – Part 2

HAPPY PLUMBING!


Filed Under: General Plumbing, How-To-Fix Videos Tagged With: copper pipe, copper tubing, how to solder copper pipes, how to solder copper tubing, solder, soldering

Voted 3rd Most Popular Site

Connect With Me

facebook twitter google plus youtube

Discover How To Fix The 7 Most Common Home Plumbing Problems Even If You've Never Picked Up A Wrench!

Simply Enter Your First Name & Email Address To Get Instant Access Now!

We will not sell, rent, give away your information. We hate spam too!

Recent Posts

  • Clogged Drain / D.I.Y.
  • Master Plumbers Exam / Practical Test
  • Bathtub Drain Stopper / Trip Waste Assembly

Categories

Like Us On Facebook

Like Us On Facebook

Newsletter · Ask Bob · Privacy Policy · Terms · Sitemap

Copyright © 2026 BobsPlumbingVideos.com · All Rights Reserved · Web Design & Marketing by Urmil Patel