BobsPlumbingVideos.com

Real Life Plumbing Advice for People Who Don't Want To Call A Plumber

  • Home
  • How-To-Fix Videos
    • General Plumbing
    • In The Kitchen
    • In The Bathroom
    • Toilet Repairs
    • Heating Problems
    • Hot Water Problems
  • Plumbing Articles
    • Quick Tips
    • Tool Reviews
    • Bobs Recommended Tools
  • About BPV
    • About Bob Sessa
    • Press Photos
    • Follow BobsPlumbingVideos.com
    • Find a Local Plumber – Coming Soon!
  • Got A Plumbing Problem? Ask Bob

Cleaning a Clogged Drain – D.I.Y. or Call a Pro?

August 12, 2014 By BobsPlumbingVideos Leave a Comment

shutterstock_65970970

SOFT CLOGS

Although clogged drains come in many flavors, I’m going to be talking specifically about the typical clogged kitchen, lavatory or tub drain.

Should you do it yourself or should you call in a pro?

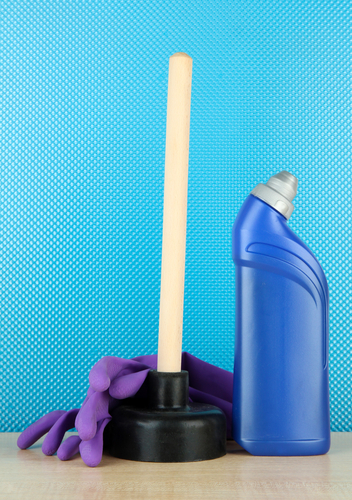
Well it depends! If it’s a soft stoppage located in the fixture “P” trap a good old fashion plunger generally will get the job done. I like to have the water cover the top of my plunger to insure I don’t allow any air to get sucked into the drain. Rather than push down I like to start in the down position and the pull up briskly to get the maximum suction.

Kitchen sinks are pretty straight forward but on lavatory sinks and bathtubs you have to remember to cover the overflow with a cloth or sponge or the water will just shoot back toward you when you start plunging away.

Again this method will often work when it’s a relatively soft clog in or near the fixture “P” trap. Contrary to what you may see on TV, I can tell you that over my 35 years in the business I can count on one hand how many clogs I’ve found in fixture traps.

For some reason they always end up being 10 feet or farther downstream of the fixture in which case a plunger is not going to help.


shutterstock_143108275

DRAIN CLEANERS

OK so the next train of thought might be to go and try some of that popular drain cleaning stuff they advertise on TV.

This sounds all fine and well but again unless the clog is in or close to the fixture trap your trying to clear, you’re just throwing your money down the drain.

For the record I’m not a big fan of throwing harsh chemicals into the plumbing systems, it’s dangerous for you and your plumber. If the clog is 10 feet or farther down the line, the drain cleaner will never reach it. Besides if you look at the instructions on a majority of those drain cleaners, they’ll often say put one or two caps full down the drain and then run the water.

This is just going to dilute the cleaner further in addition to the water that’s already laying in the pipe. If the cause of the clog is grease or soap scum, I prefer using a biological bacteria type cleaner that activates once it’s mixed with water.

The bacteria will eat all the organic matter on the pipe walls leaving it clean as a whistle. These products work best when the water is still flowing and the fixture is not completely clogged. They work incredibly well on grease and soap scum type stoppages.

Now if your stoppage is being caused by hair or perhaps built up scale from the inside of cast iron pipes, it may be time for some mechanical method of clearing the clog aka a SNAKE!


shutterstock_82077325

MECHANICAL CLEANING METHODS

Before I speak about snaking a drain, I want to mention that their are tools that utilize air pressure that you can use to clear clogs quite far down the line. But these are expensive tools generally best left to an experienced tradesman.

As a rule by the time I get the call to clear a drain, the homeowner has already worked on it themselves and has surrendered.

First thing I ask is if any drain cleaner has been tried in which the typical response is “NO”. It doesn’t take long for me to find out that in fact a huge amount of drain cleaner was used. How can you tell you may ask?

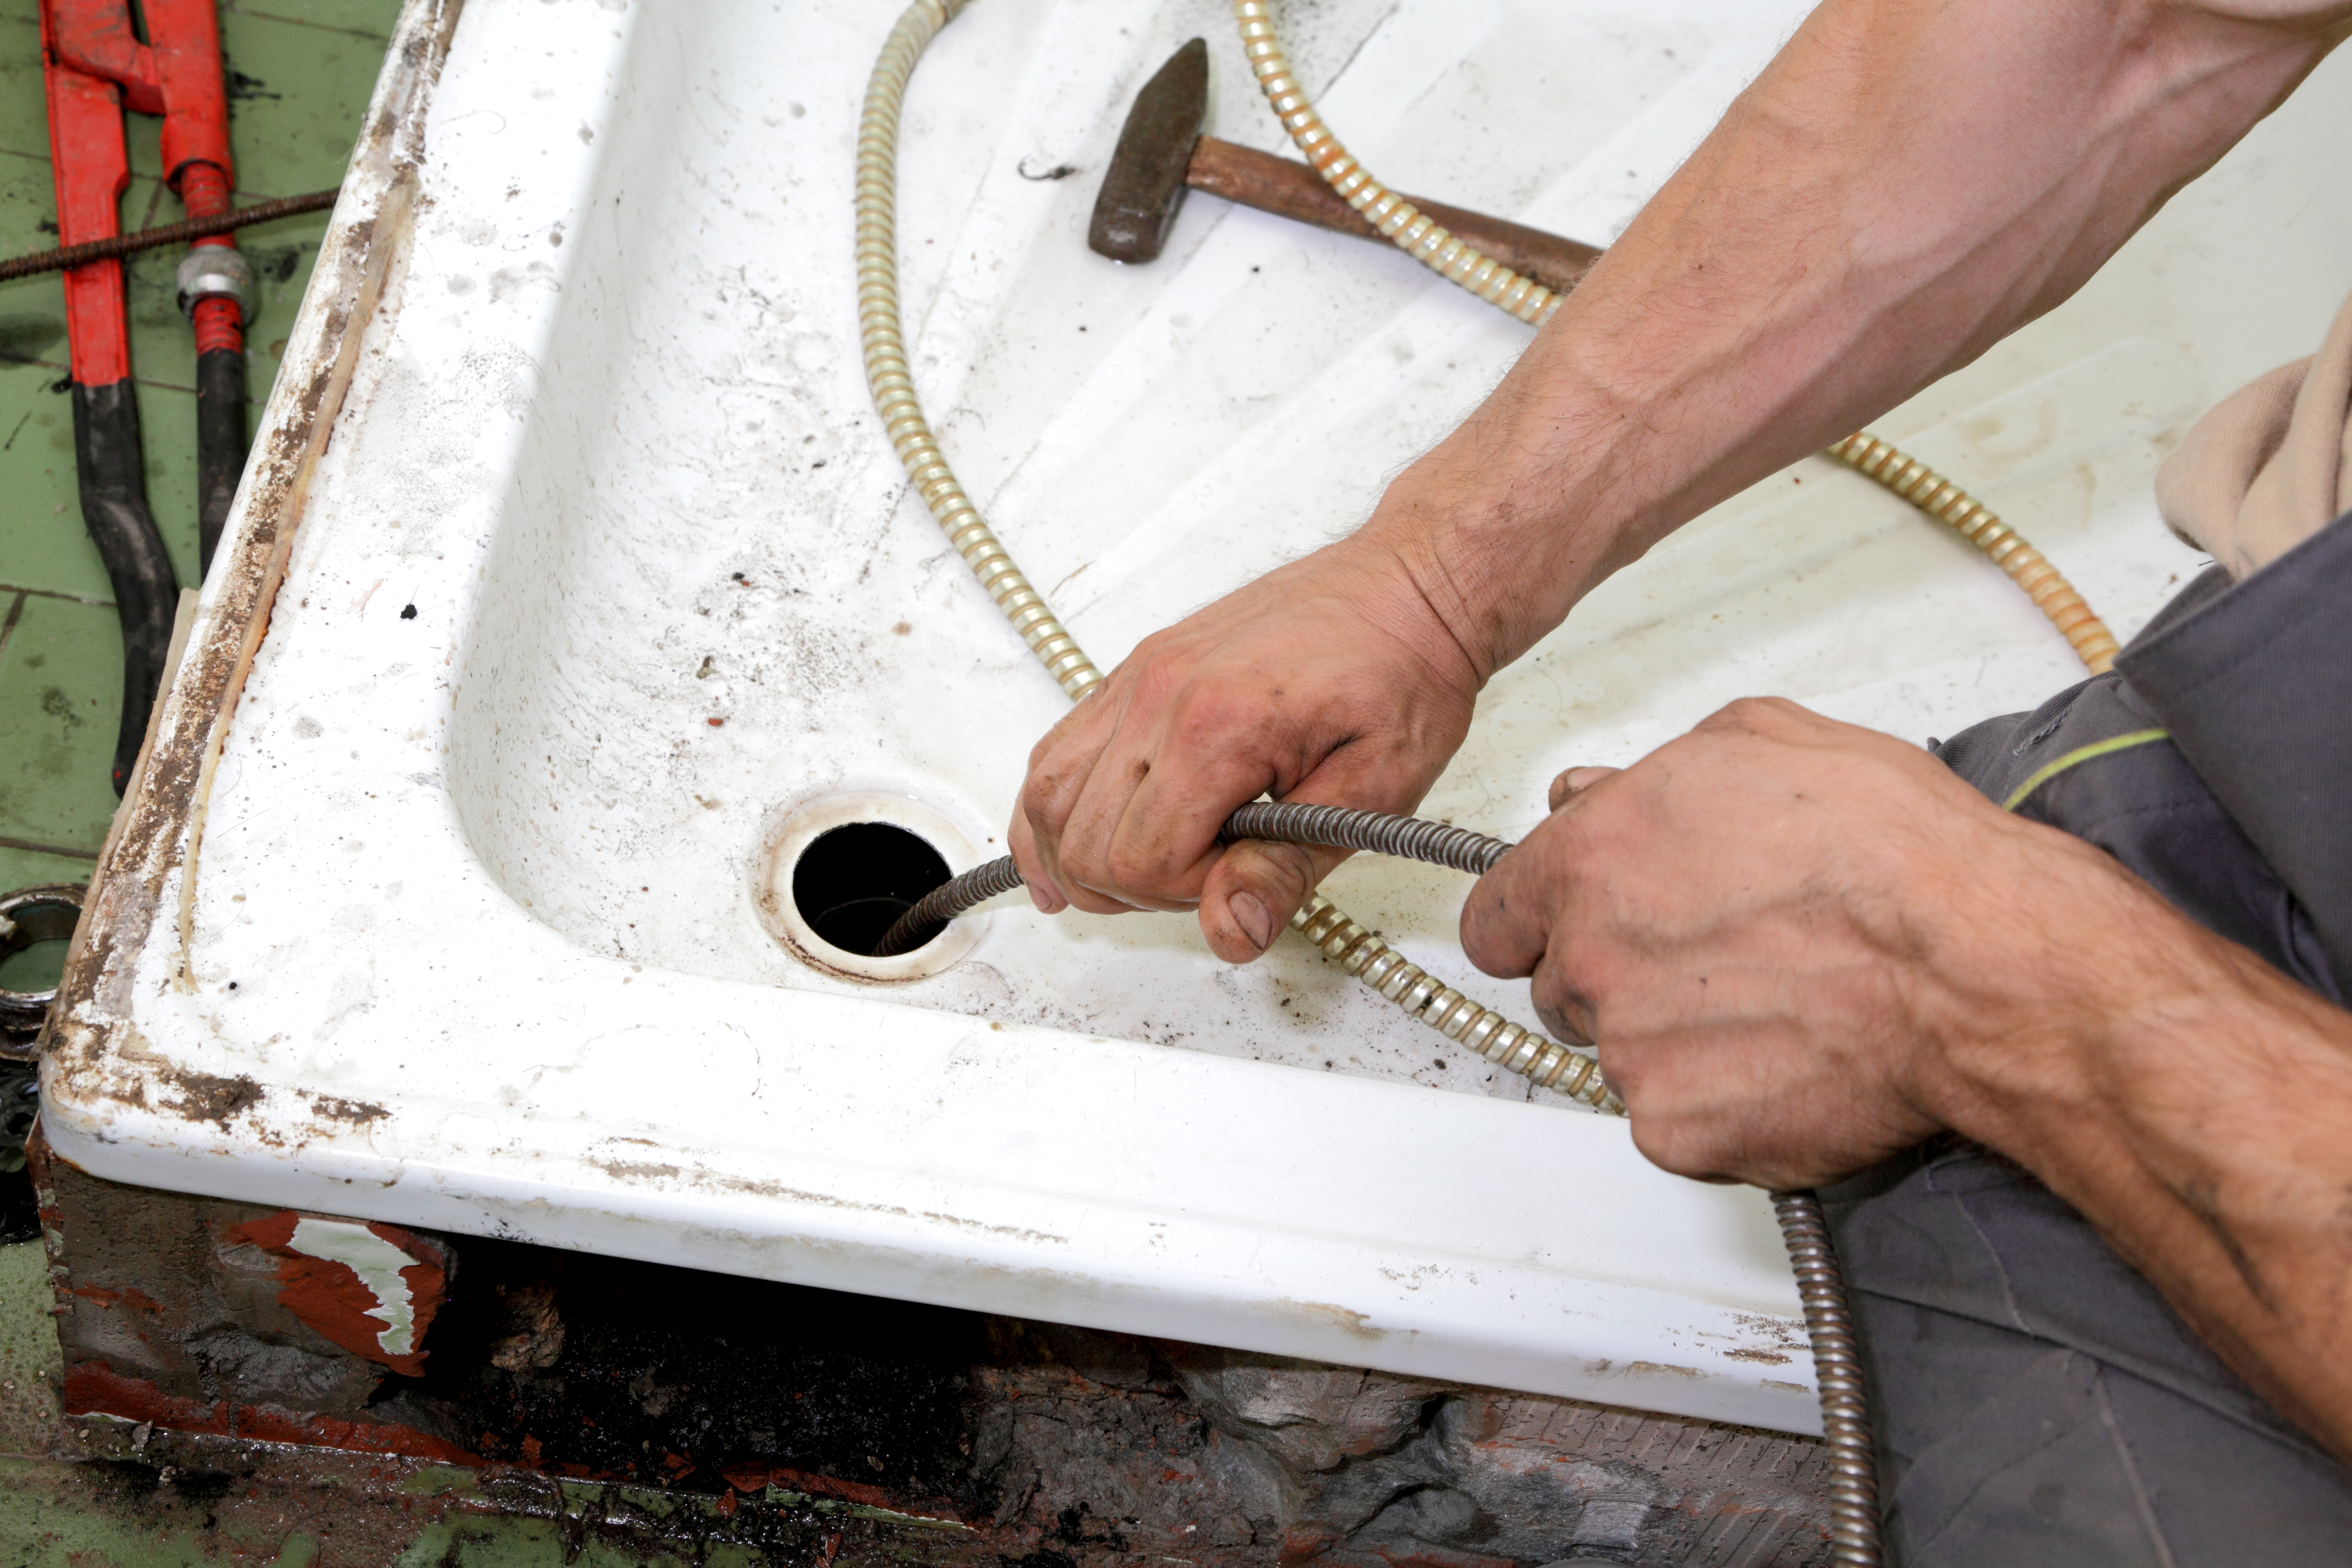
As I work my snake in and out of the drain it becomes incredibly clean and shiny, not to mention that slimy and burning feel to it as I retrieve back from the drain. If you’re going to use a chemical drain cleaner please be courteous.

For your safety and his, tell your plumber before he attempts to clear the clog. When I use my snake I like to introduce it through the fixture drain directly through the trap and into the drain line. What this does is allows me to run the water once I clear the clog thus flushing out the line thoroughly.

Some plumbers prefer to dismantle the drain pipes under a sink and then proceed to snake the line, but this make no sense to me because their is no way to flush out the line or even tell if they cleared the line. I believe my method takes a little more skill, but results are always superior.


shutterstock_105607709

SHOULD YOU SNAKE IT OR CALL A PRO?

This is the way I see it. You can certainly can go out and buy an electric or hand snake which are readily available at most of the big box stores.

They’re not professional grade tools by any means but you could get lucky and get the job done. You can also invest upwards of four hundred dollars in a professional Roto-Rooter drain cleaning machine and have a much better chance of success.

Personally if it’s a soft stoppage close to the fixture in question, I say get a good quality plunger and go for it. On the other hand if you’ve got a tough hair or scale type clog, it’ll be well worth while to call in a professional.

They’re fully equipped to handle all types of stoppages and are certainly prepared if things go south. Do you really want to spend your weekend cleaning a clogged drain?

By the way after I snake a drain line I always recommend introducing some bacterial drain maintenance to thoroughly clean the inside of the pipe. When bacteria based cleaners are used on a monthly basis, the need for future mechanical methods can be kept to minimum.

Hope you enjoyed this article and as always you can reach me at info@bobsplumbingvideos.com.

HAPPY PLUMBING!

Filed Under: General Plumbing, Plumbing Articles Tagged With: clogged drain, drain stoppage, sink stoppage, stopped up drain, tub stoppage

How To Solder Copper Tubing part 2

November 19, 2013 By BobsPlumbingVideos Leave a Comment

Here’s part 2 of how to solder copper tubing. 

If you haven’t seen part 1, check it out here: How to solder copper tubing – part 1

In part 1 I took you through preparation process and laid out the necessary tools and supplies for your soldering journey. In this video I demonstrate how to solder one horizontal and one vertical joint using 1/2″ copper tubing. As a rule on the smaller diameters (1/2″ & 3/4″) I’ll leave my torch tip on one area of the fitting and because I’m using Mapp fuel along with my Turbo Torch STK-1 tip the job gets done fast. One step often missed in the the soldering process is not reaming or d-burring the inside of the copper pipe. This step you don’t want to miss as it will cause turbulence resulting in noisy plumbing.When I solder I always heat the fitting which will insure that the solder will flow freely into the joint. Their seems to be many opinions on whether you should heat the pipe or fitting, but I was taught this way at an early age and to date it’s my opinion that heating the fitting will insure a leak free joint 100% of the time.

One other very important step I want to point out is that when your through soldering and the joint sets, it’s important to grab a damp cloth and wipe off all that excess flux. Did you ever see a nicely laid out series of water lines that were lined up perfectly both horizontally and vertically but was covered in crusty green gunk? Horrible! That’s the left over flux someone forgot to wipe off.  The soldering process is not to difficult to do and if you take it slowly, you should have no problem with it.

If you didn’t watch part 1, I recommend you check it out first. 

Remember you can always reach me at info@bobsplumbingvideos.com if you have any further questions.

HAPPY PLUMBING!

Filed Under: General Plumbing, How-To-Fix Videos Tagged With: copper pipe, copper tubing, how to solder copper pipes, how to solder copper tubing, solder, soldering

How to Solder Copper Tubing – Part 1

November 19, 2013 By BobsPlumbingVideos Leave a Comment

Watch and learn how to solder copper tubing in this easy to follow video.

Their are several videos on you-tube showing how to solder copper tubing ; some good, some bad and some in-between. In this two part series I lay out the tools, cleaning procedure and steps to take when soldering small diameter ( 3/4″ & 1/2″) copper tubing. I will do a video on larger diameter copper, but in this series we’re going to concentrate on the small stuff.

I want to point out that I prefer to use Mapp fuel as opposed to propane fuel only because it burns at much higher temperatures getting the job done faster. In combination with the Turbo-Torch regulator and STK-1 torch tip featured in the video, the job goes quite quick on the small sizes and saves time on the larger sized copper tubing. You may certainly use a basic torch tip along with propane fuel, the job will just take a bit longer to complete. The key in a good strong joint is the cleaning and preparation process. I clean both the outside of the tubing as well as inside the fitting and depending on how dirty, I’ll use a scotch bright pad or plumbers emery cloth. The next step is to liberally coat the pipe and fitting with flux hopefully using a flux brush, (you don’t want to do this with your finger, flux is nasty). Their are differing opinions on what to heat first (the pipe, the fitting) but since I started in the business I was always taught to heat the fitting. By heating the fitting a process called capillary attraction takes place whereby the heat from you torch will actually draw the solder into the fitting with minimal effort.

The first part of this video series is all about the tools and preparation, in part two I’ll demonstrate a horizontal and vertical joint using 1/2″ copper tubing. This is not that difficult to do, so when you’re done with part 1, jump on over to part 2 and let’s solder a couple of joints.

Here’s a quick link to How To Solder Copper Tubing – Part 2

HAPPY PLUMBING!


Filed Under: General Plumbing, How-To-Fix Videos Tagged With: copper pipe, copper tubing, how to solder copper pipes, how to solder copper tubing, solder, soldering

How a Pop-Up Assembly Works

October 20, 2013 By BobsPlumbingVideos Leave a Comment

So your basic lavatory pop-up waste assembly is not so mysterious after all. Let’s take a look at how a pup-up assembly works.

A simple invention designed to keep the water inside of your lavatory to shave or perhaps wash your face. Most of the ones I have installed are similar in design with the exception being that the material was either plastic or solid brass construction.

The one featured in the video is of solid brass construction which has always been a reliable unit, fact is, I prefer brass pop-up’s to the plastic versions.

Simply put they just work better and last longer. As you can see it’s a pretty simple concept, pull up on the lift rod and the stopper goes down. Push down on the lift rod and the stopper goes back up.

For me, the most important part of the installation is that in addition to placing a ring of plumbers putty around the chrome flange before you place it into the sink, I also place a ring of putty on the beveled washer that seals the bottom of the pop-up against the bottom of the sink.

This is one step that although in theory is not required, can save you from having to disassemble the unit and doing it all over again. Trust me I speak from experience, if I have to make a return trip for a nuisance leak, it costs me money! Not to mention the inconvenience to my customer.

The other point I’d like to make is that when I set up my lift rods, I always make sure my stopper ends up being in the fully open position when my lift rod is pushed completely down.

I often see that when the lift rod is fully down, the stopper is only partially up which causes the water to pool in the sink which is just a nuisance.

Before you set your rods, make sure the stopper is in the fully up position and you can’t miss.

Check out the video and if there is something I missed, please drop me a line at info@bobsplumbingvideos.com.

HAPPY PLUMBING!

Filed Under: General Plumbing, How-To-Fix Videos, In The Bathroom, In The Kitchen Tagged With: fix a pop-up assembly, how a pop-up assembly works, pop-up assembly, pop-up drain assembly, replace a pop-up assembly

How To Install a Basic Kitchen Deck Faucet – Part 2

October 20, 2013 By BobsPlumbingVideos Leave a Comment

If you haven’t watched video 1 of this 2 part video series then watch it here:
How To Install a Basic Kitchen Faucet – Part 1

Let’s continue to install the basic kitchen deck faucet in the concluding part of this video series.

So now that you have removed the old faucet, it’s time to prep the new one. The faucet in this video has a hard plastic deck gasket but you still have to use plumber’s putty for a completely water tight seal.

As I mention in the video, in the past, I covered the entire bottom of the faucet with plumber’s putty, and there is nothing wrong with that if you so desire, but I found that by running a bead of putty around the entire edge of the faucet gets me the same result.

The important component is that you want it to squeeze and fan out beyond the faucet body to ensure a watertight seal.

If you are planning on installing a spray hose attachment, now would be the time to screw the male end of the hose into the faucet before you place it onto the sink.

String the hose in through the center hole and then you can bring it up through the fourth hole in the sink if so equipped.

An important tip here is that you’ll have to remove the spray head from the hose before you do this which is pretty simple to do and again,

I’ll cover that in future videos.

Now it’s a matter of tightening the locknuts, followed by connecting your hot and cold water supply tubes, turning on the water and you’re done.

Don’t forget to clean the excess putty from around the faucet, for this I generally use a wooden toothpick to keep from scratching anything.

You also want to remove the aerator and flush out any debris that may have accumulated in the installation process.

Get a little glass cleaner, shine that puppy up and you just saved yourself a boat load of cash by doing it yourself. Job Well Done!!!

HAPPY PLUMBING!

Filed Under: General Plumbing, How-To-Fix Videos, In The Kitchen Tagged With: how to install a basic kitchen faucet, installing a kitchen faucet, kitchen faucet, replace your kitchen faucet

  • « Previous Page
  • 1
  • 2
  • 3
  • 4
  • 5
  • 6
  • …
  • 10
  • Next Page »

Voted 3rd Most Popular Site

Connect With Me

facebook twitter google plus youtube

Discover How To Fix The 7 Most Common Home Plumbing Problems Even If You've Never Picked Up A Wrench!

Simply Enter Your First Name & Email Address To Get Instant Access Now!

We will not sell, rent, give away your information. We hate spam too!

Recent Posts

  • Clogged Drain / D.I.Y.
  • Master Plumbers Exam / Practical Test
  • Bathtub Drain Stopper / Trip Waste Assembly

Categories

Like Us On Facebook

Like Us On Facebook

Newsletter · Ask Bob · Privacy Policy · Terms · Sitemap

Copyright © 2026 BobsPlumbingVideos.com · All Rights Reserved · Web Design & Marketing by Urmil Patel